AppStream

AppStream is a fully managed application streaming service that provides MQ users both staff and students with instant access to their applications from anywhere enabling students to use Microsoft Windows applications they require to do their university work from anywhere, anytime, on any device (BYODs).
Get started
To get started with AppStream all it takes is three simple steps:
- Visit https://mq.okta.com/ using any browser on your computer device. Google Chrome is the recommended web browser for AppStream.
- Login using your MQ OneID and password
- Simply click on tile AppStream - Student Applications and then click on any application icon which you like to stream.
Do I need to be on campus to access AppStream?
No, you can access AppStream using Google Chrome to stream applications from anywhere, anytime, on any device.
AppStream sessions
Is Appstream running temporary sessions?
Yes, all AppStream sessions are temporary. You must save and upload your files to Google Drive or OneDrive before ending your AppStream session, otherwise you will not be able to retrieve your unsaved files.
What should I do if my session disconnects due to any issues e.g. network dropped, or your laptops battery died etc.?
Your session is kept alive for 30 minutes from the time it gets disconnected, e.g. you were working in your session at 10.00am and for any reason the network on your host laptop (BYOD) dropped then your session will be kept alive until 10.30am. You need to revisit mq.okta.com via another browser tab and login using your OneiD and password and just click on "AppStream Advance" icon and you will be presented with your previous session back.
If your laptop (BYOD) ran out of battery, you will be able to access your disconnected session within 30 minutes by logging into AppStream using any other device.
- Note: Please upload your work to Google Drive or send the files to yourself via email before ending your session, as you can't get back to your work/session once you have ended your session.
It looks like my AppStream session is hung, what can I do?
Please try "End Session" your hung AppStream session in the browser by clicking "End Session" on top right-hand side of the browser. Please wait for say 5 minutes and then repeat the login process to run AppStream using another browser. The wait time is to make sure that your session ends cleanly on the backend.
If hung session issue still persists using another browser, then log a Onehelp ticket with MQ IT Service Desk.
Do I need to end my AppStream session?
Yes, you will need to end your AppStream session once you have finished using the applications available on AppStream.
 Note: Please upload your work to Google Drive or send the files to yourself via email before ending your session, as you can't get back to your work/session once you have ended your session.
To end your AppStream Session, please follow the steps below:
- Click on top right hand corner of the your AppStream profile icon.

2. Click on End Session and you will be presented with End Session dialog box as follows:
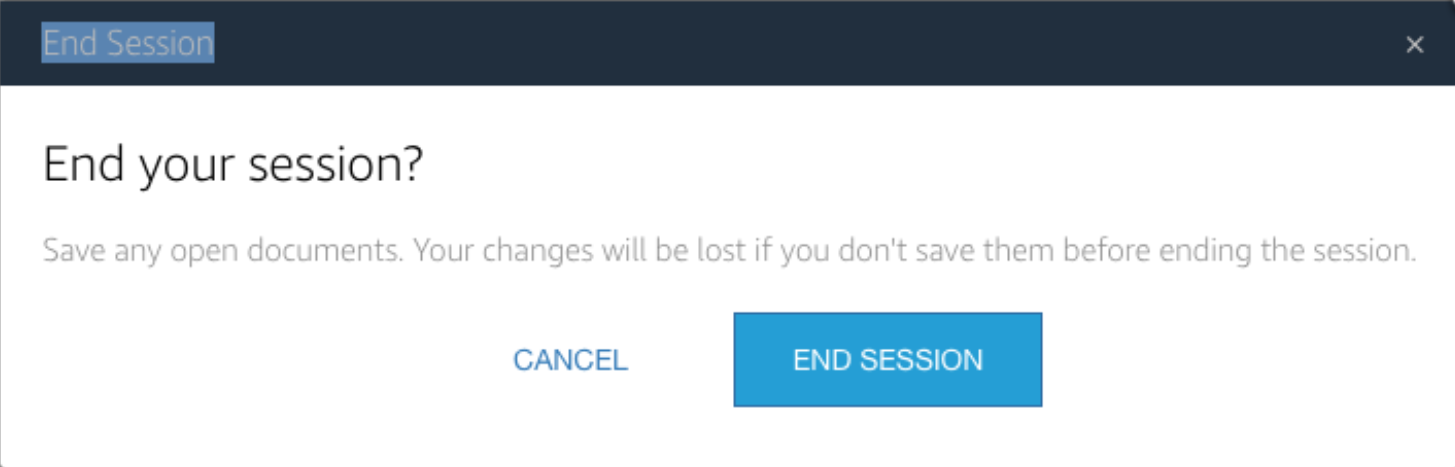
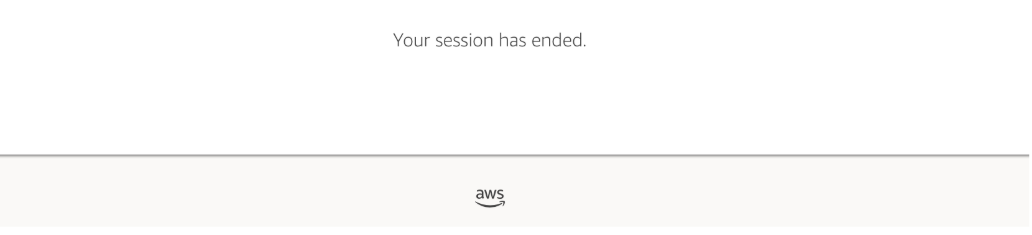
- Click on End Session to end your session. Your browser will be redirected to https://mq.edu.au home page or you will be presented with "Your session has ended" page as follows:
Applications within AppStream
What applications are available in Appstream?
Login to AppStream – Student Applications via https://mq.okta.com and you will be able to view all the applications that are available.
Is Microsoft office tools available via AppStream?
No, Microsoft365 applications are not available via AppStream due to licensing issues. However, all students have been given full license to their student email and can install all Microsoft365 applications on their own device.
Can I run multiple applications at the same time?
Yes, you can run concurrent application sessions by using the App launch button in the Navigation Toolbar.
How to switch between multiple applications being run?
- Click on the App Launch button on the Navigation Toolbar.
- In the application dropdown box, select the application.
When will more applications be available?
AppStream simulates the University's general-purpose computer lab. Future releases will deliver course and unit-specific applications.
How do I request additional apps to be included in AppStream?
- Raise a OneHelp ticket for AppStream.
- Select Application Refresh in the dropbox menu as your query.
- Fill in the fields as request and provide:
- Detailed information about the application and its licensing - as much as possible
- Name of a contact person who will test the application in the AppStream Test Environment
- Submit the OneHelp ticket.
Will my application be automatically added into AppStream upon request?
No. We will review the request dependant on the licensing restrictions - who can use it, how many licenses have been purchased, is it 'freeware', can it be added to a virtual environment.
How long does it take to add an approved application?
It takes a minimum of 2 weeks. We need this time to get the approved application. Add the application to a test environment. Have it tested by an academic who has requested the software be added. Once testing is complete it can then be added to the production environment.
How to save my files?
All AppStream sessions are temporary. Make sure to save your work on Google Drive or OneDrive, you must transfer your work files before ending your sessions, for example, email files to Gmail or upload files to Google Docs.
How to connect and save my work in Google Drive?
Follow the steps below to add your MQ student Google Drive account to AppStream for the first time:
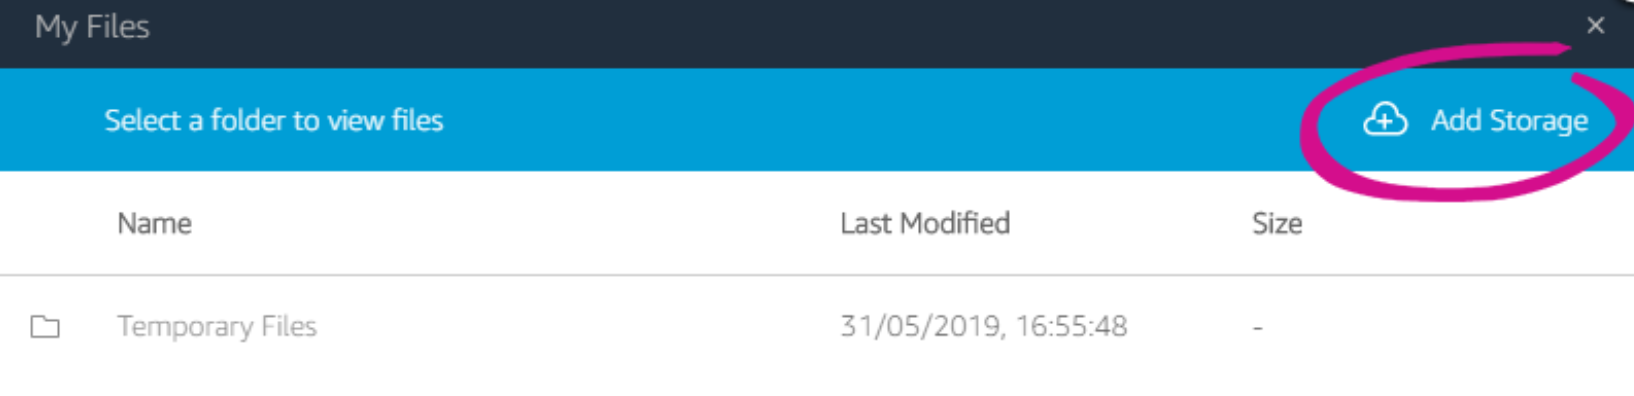
- Select the My Files icon (found at the top left of your browser).

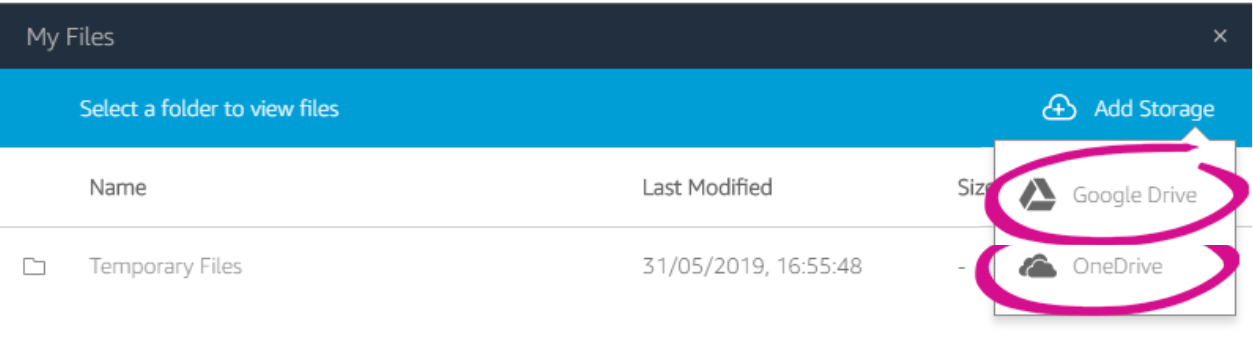
- In the My Files dialog box, select Add Storage.
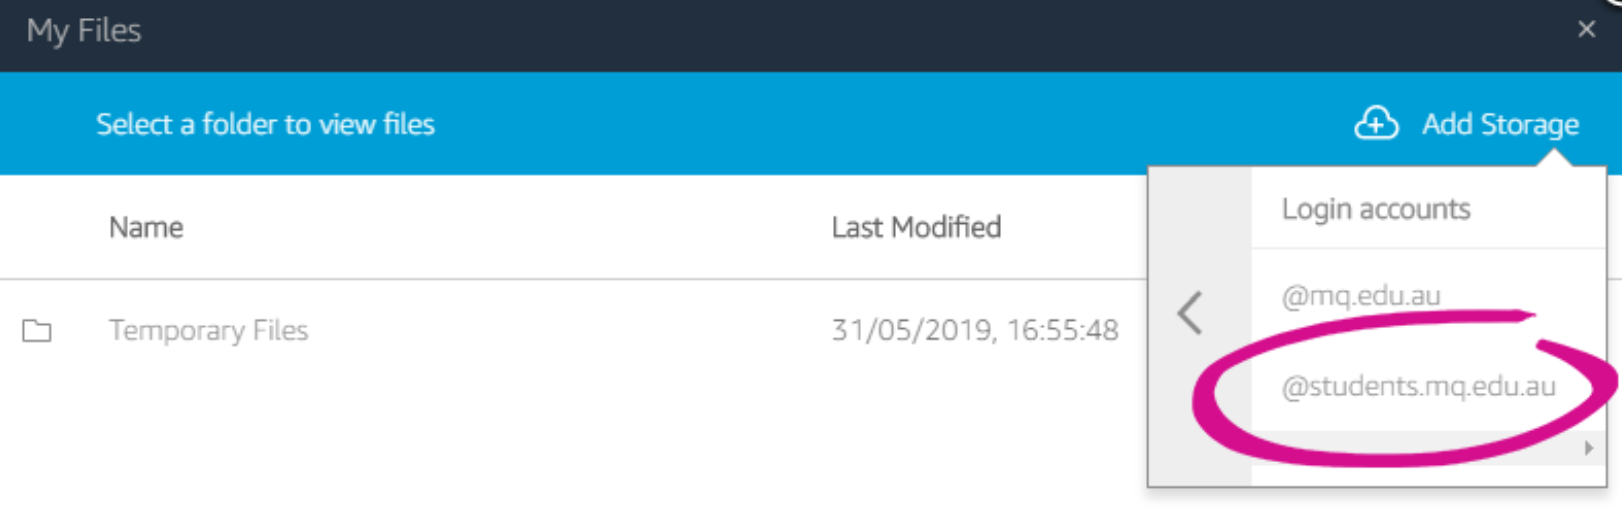
- Select Google Drive.

- Select the @students.mq.edu.au domain for your Google Drive account.
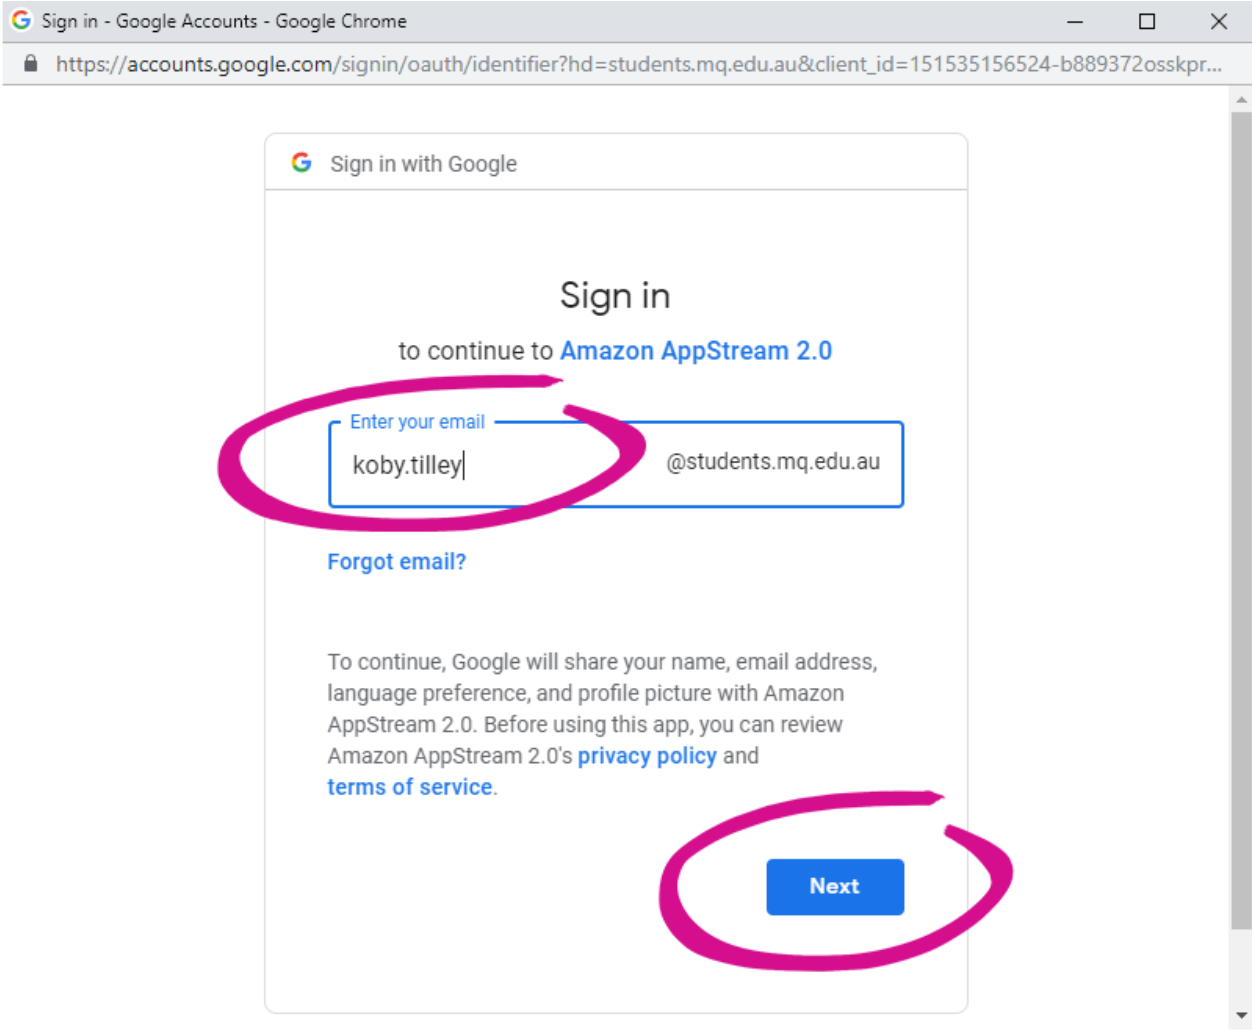
- The Sign in with Google dialog box will pop up. Type the username and select Next. Note: In case the signing pop-up does not come up, please refresh your browser and then follow from step2 onwards.
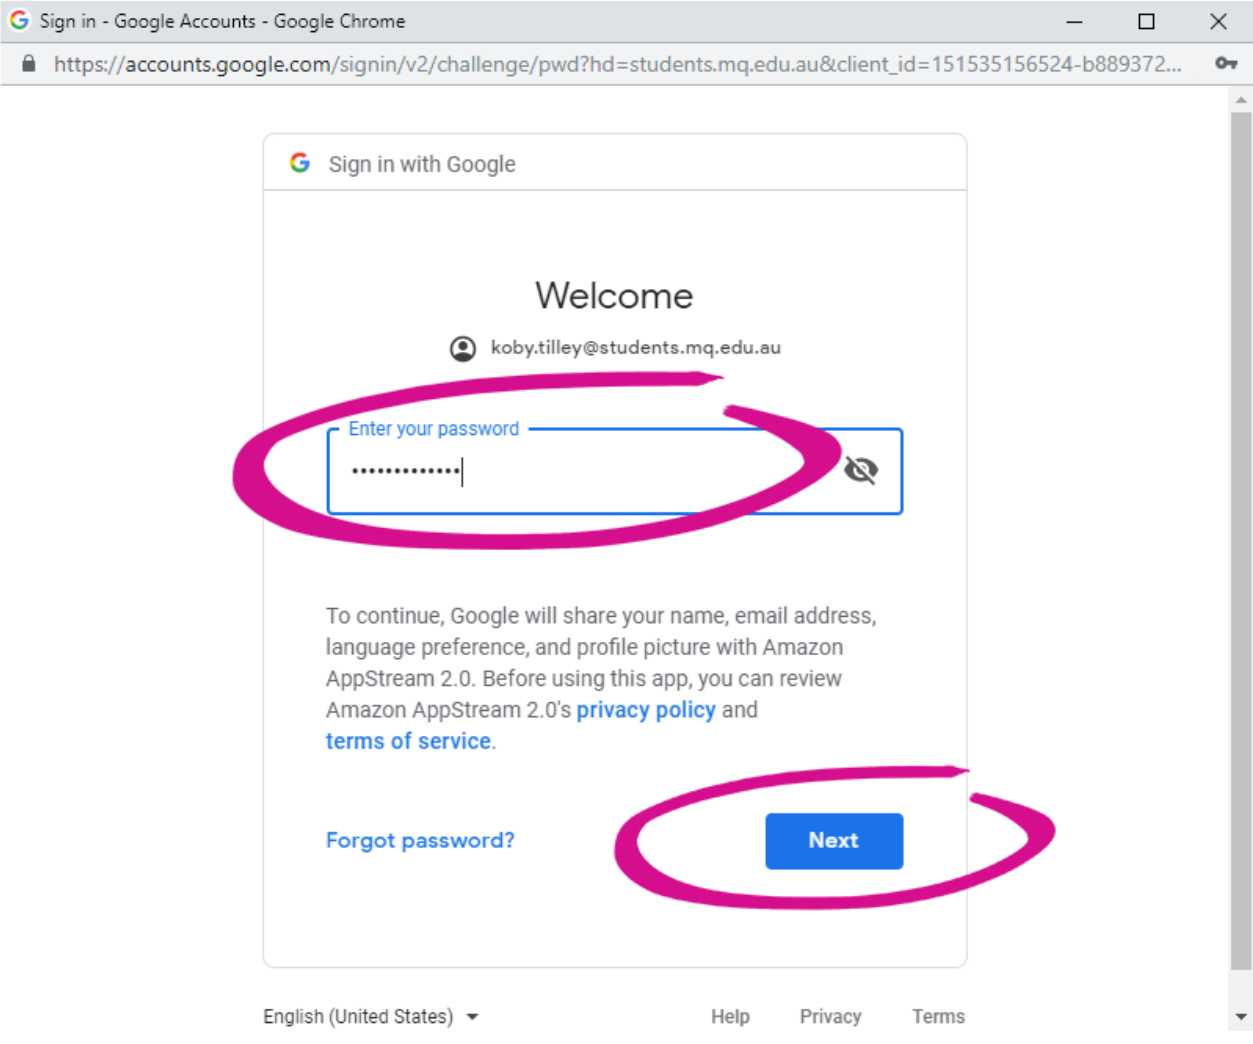
- Type the password for your Google Drive account and select Next.
- After your Google Drive account is added, your Google Drive folder displays in My Files.
- To work with your files and folders in Google Drive, Select the Google Drive folder and browse to the file or folder you want.
Note: In case you get a message like "AppStream 2.0 is accessing your Google Drive. If you just linked your Google Drive account to AppStream 2.0, your drive should be available momentarily" after adding your Google drive and your Google drive is not seen, then please refresh your browser and try again to see the Google drive.
How to connect and save my work in One Drive?
Follow the steps below to add your MQ student One Drive account to AppStream for the first time:
To access your OneDrive, you must first add your OneDrive account.
- Select the My Files icon at the top left of your browser.

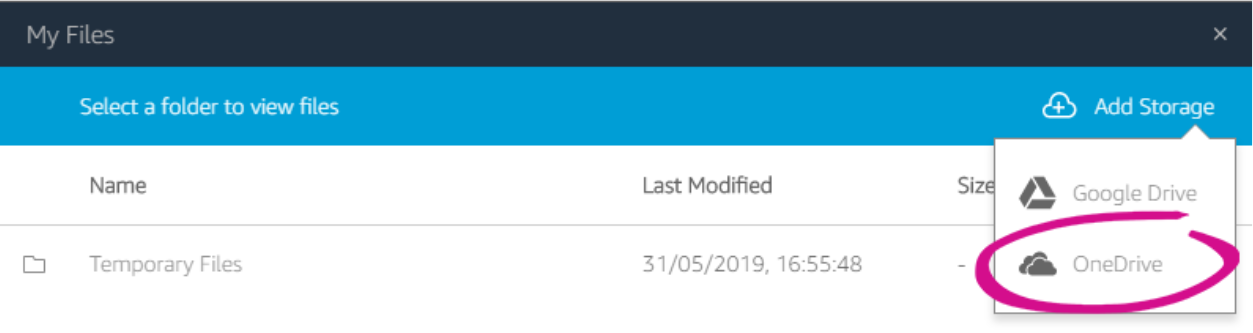
- In the My Files dialog box, select Add Storage.

- Select OneDrive.
- Under Login accounts, select the domain for your OneDrive account.
- The Sign in dialog box displays. Type the username and password for your account when prompted, then sign in.
- After your OneDrive account is added, your OneDrive folder displays in My Files.
- To work with your files and folders in OneDrive, select the OneDrive folder and browse to the file or folder you want.
Can I save files to my local or locally mapped drives?
We recommend you save your files onto Google Drive or OneDrive.
How to save files to USB drive attached to my local host PC / laptop?
Direct USB drive integration with remote session is not yet available. We recommend you save your files onto Google Drive or OneDrive.
How do I upload and download files between my local computer and my Google Drive or OneDrive?
- Select the My Files icon at the top left of your browser.

- In the My Files dialog box, select Google Drive or OneDrive
- Navigate to an existing folder or Select Add Folder to create a new folder.
- When the folder that you want displays, do one of the following:
- To upload a file to the folder, select the file that you want to upload, and Select Upload.
- To download a file from the folder, select the file that you want to download, Select the down arrow to the right of the file name, and Select Download.
How do I access iPrint via AppStream?
- In the application session, click on Print.
- The application will prompt you with printing preference window.
- In the preference window, select “iPrint” as the printer.
- Click on Ok to start printing.